Overview
This guide contains instructions on how to install and do basic configuration for MsSQL on an Ubuntu system.
From our partners:
Prerequisites
- Operating System : Ubuntu 18.04 or 16.04
- Access to a Terminal or Shell Console
Installation
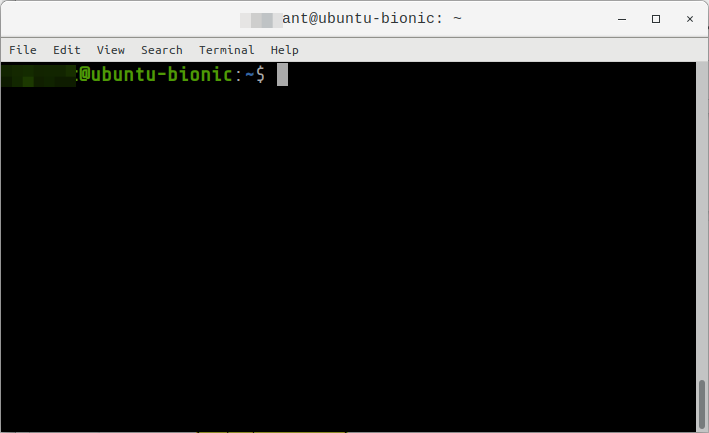
01: Open a terminal window
02: Import the public repository GPG keys
$ wget -qO- https://packages.microsoft.com/keys/microsoft.asc | sudo apt-key add -
03: Register the Microsoft SQL server Ubuntu repository
$ sudo add-apt-repository "$(wget -qO- https://packages.microsoft.com/config/ubuntu/16.04/mssql-server-2017.list)"
04: Update the package manager
$ sudo apt update
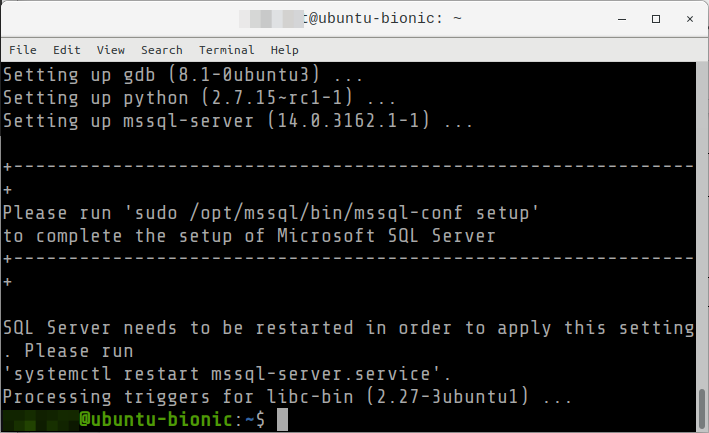
05: Install the SQL Server. Enter y when asked to confirm.
$ sudo apt-get install mssql-server
Configuration
06: Run the configuration setup to setup the SQL server edition/license the admin password
$ sudo /opt/mssql/bin/mssql-conf setup
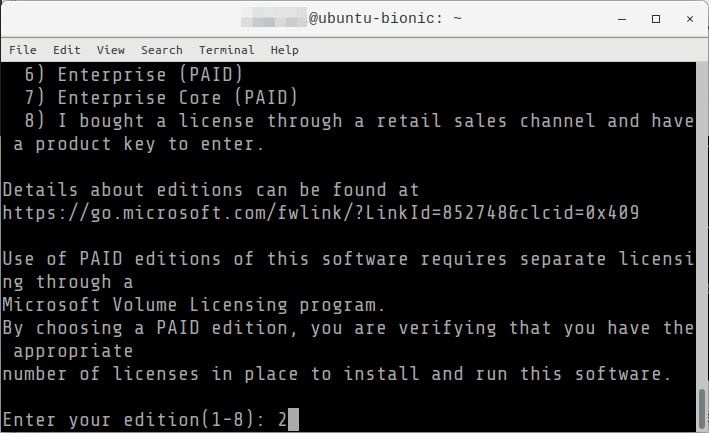
07: Choose an edition of SQL server.
-
- 1 – Evaluation
- 2 – Developer
- 3 – Express
- 4 – Web [PAID]
- 5 – Standard [PAID]
- 6 – Enterprise [PAID]
- 7 – Enterprise Core [PAID]
- 8 – If you have your own license key
For Development purpose, select 2
08: Accept the license terms be entering Yes.

09: Select the Administrator password, in this example, GeekPassword42
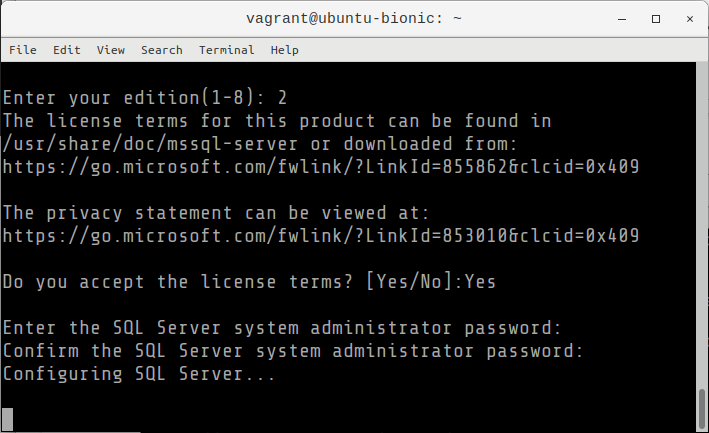
It will continue with the process after the password has been entered and confirmed.

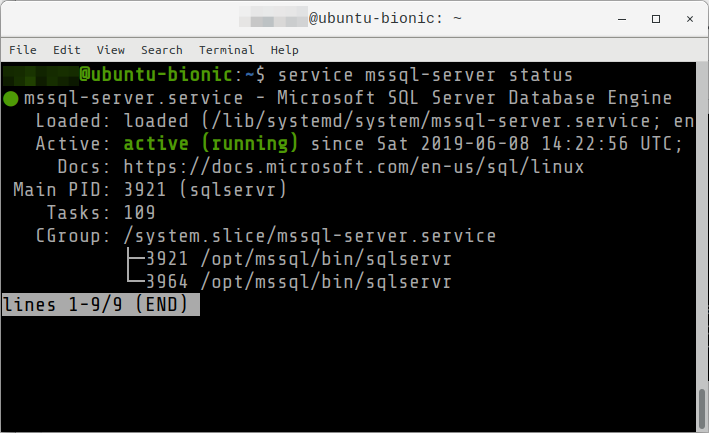
10: Verify that the service is running
$ systemctl status mssql-server --no-pager

or

$ service msqsql-server status
Installing the SQL Server CLI tools
11: Install the tools. Enter y when asked to confirm.
Note that you need to import the public keys and add the Microsoft Ubuntu repository to continue. If you followed the steps in the Installation section, you can continue with the following command. Refer to step #02 and #03.
$ sudo apt-get install mssql-tools unixodbc-dev
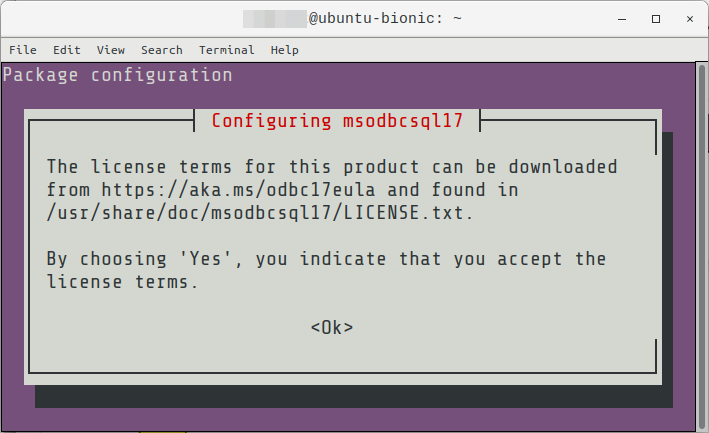
12: A confirmation message will be shown. Confirm by selecting <Ok> using the tab key to highlight it, then Enter.
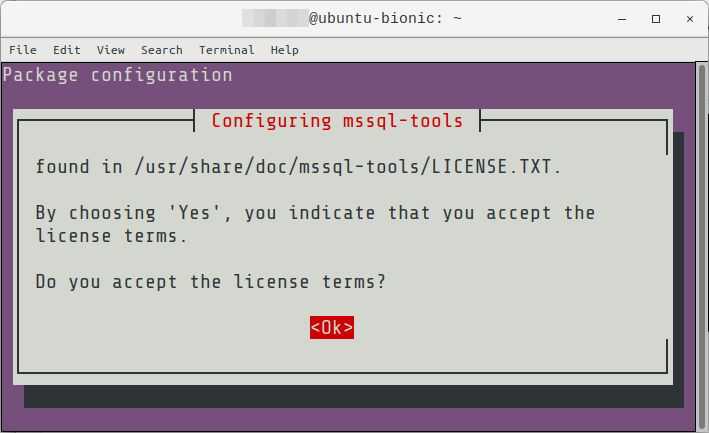
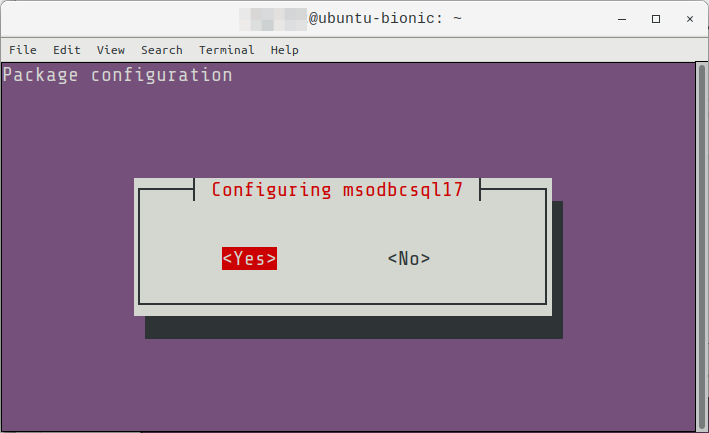
Select <Yes> to confirm.

13: Confirm by selecting <Ok>
Select <Yes> to confirm.
14: Add /opt/mssql-tools/bin/ to your PATH environment variable in a bash shell.
$ echo 'export PATH="$PATH:/opt/mssql-tools/bin"' >> ~/.bash_profile

$ echo 'export PATH="$PATH:/opt/mssql-tools/bin"' >> ~/.bashrc

source ~/.bashrc
15: Connect locally using the <b>sqlcmd</b>
$ sqlcmd -S localhost -U SA
Then enter your password, example, GeekPassword42
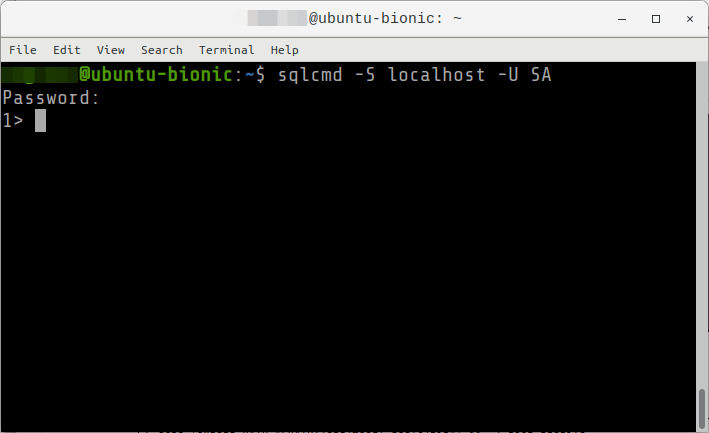
16: The prompt will change to 1> when successful. Type QUIT to exit.
For enquiries, product placements, sponsorships, and collaborations, connect with us at [email protected]. We'd love to hear from you!
Our humans need coffee too! Your support is highly appreciated, thank you!